Documentation
Getting Started
Installation and Access
Network Configuration
Verification and Maintenance
Signing In to the Gateway: Set the Computer IP, Use https, Change the Password
Read this page for your first sign-in to the admin page. Change the subnet, open it over https, about 5 minutes.
Step 1 — Set the computer IP to 192.168.10.x
In the computer's network settings, set the adapter's IPv4 address to the value in the table.
| Field | What to enter |
|---|---|
| IP address | 192.168.10.100 (any address in 192.168.10.x) |
| Subnet mask | 255.255.255.0 |
The network icon in the taskbar shows a connection.
Step 2 — Open the admin page over https
Enter https://192.168.10.1 in the browser address bar.
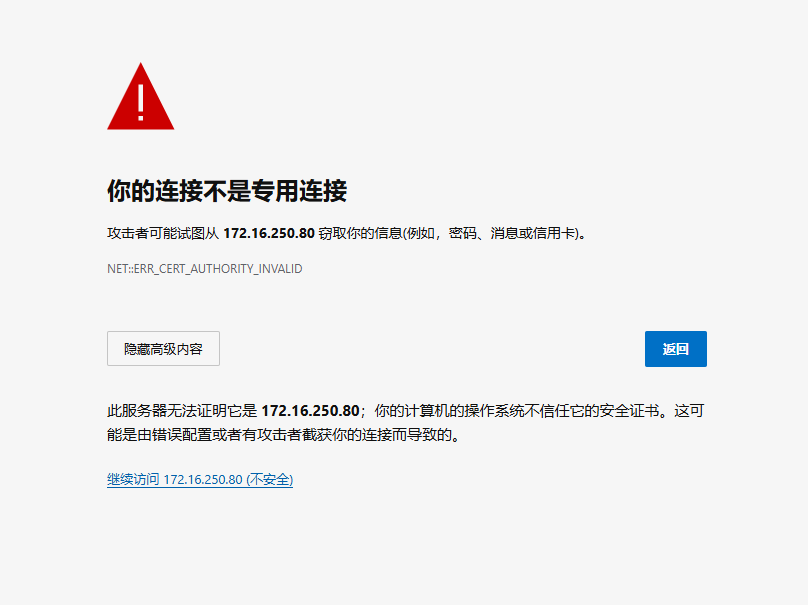
Figure: the certificate warning page. You reach 继续访问(Proceed) only after clicking 高级(Advanced).
The device uses a self-signed certificate, so the browser reports 连接不是私密连接(Your connection is not private). The device is not infected. Click 高级(Advanced) → 继续访问(Proceed).
Without the s the page does not open. This is the most frequent support call.
Step 3 — Sign in with the default account
Enter root as the username and admin as the password.
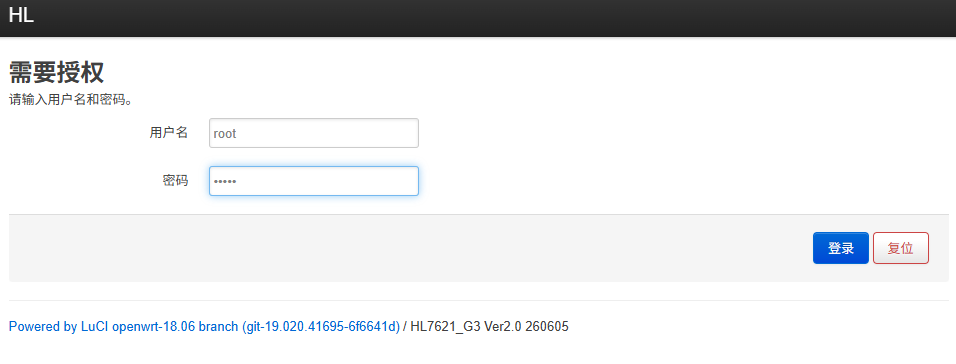
Figure: the sign-in page; the two fields are the username and the password.
Step 4 — Open 网络(Network)→ 接口(Interfaces)
After signing in, look at the top navigation bar, click 网络(Network), then click 接口(Interfaces).
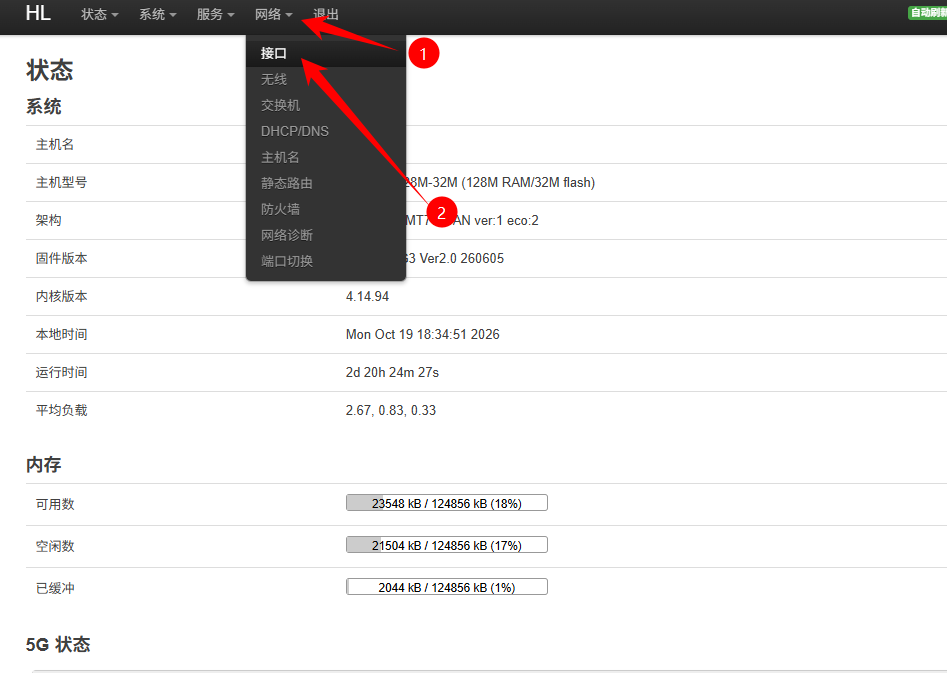
Figure: where 网络(Network)→ 接口(Interfaces) sits in the top navigation; configuration starts here.
The default password is public, so anyone can sign in. Pending: the menu path for changing the password, and the password length and character requirements (to be filled in by the content provider).
Set the computer IP back to automatic. Otherwise this computer cannot reach the internet.
Next → Configure the gateway for the access mode you chose: Bridge mode · Secondary router mode · Bypass router mode
Was this page helpful?A one-line note helps us make these steps more accurate.